


What is CSS?
So, before diving deep into CSS selectors let's first discuss what even is CSS. CSS abbreviated as cascading stylesheet. It is used to select the dom elements and change the way they look on webpages i.e applying some styles like changing the text color, font size, applying hover effects, etc.
How can we select the HTML elements?
That's where CSS selectors come in
What are the types of CSS selectors?
According to MDN docs we have
- Universal selector. (*)
- Type Selector. (select elements by their HTML tag name)
- Class & ID Selector. ((.), (#))
- Attribute Selector. input[type="text"]
- Selector list (selecting multiple elements separated by comma)
- Descendant Selector (Selecting elements which are inside of other elements.)
- Child Selector. (>)
- General Sibling Selector. (~)
- Adjacent Sibling Selector. (+)
- Psudo class. (:hover, :visited, :focus, :placeholder)
- Pseudo elements. (::before, ::after)
Let's now explore each of the above selectors in detail
- Universal selector (*) The universal selector asterisk selects every HTML element that is defined on the webpage. It is like the wildcard character we have in Regular expression
Let's look at an example
<!DOCTYPE html>
<html lang="en">
<head>
    <meta charset="UTF-8">
    <meta http-equiv="X-UA-Compatible" content="IE=edge">
    <meta name="viewport" content="width=device-width, initial-scale=1.0">
    <title>CSS Selectors</title>
    <link rel="preconnect" href="https://fonts.googleapis.com">
<link rel="preconnect" href="https://fonts.gstatic.com" crossorigin>
<link href="https://fonts.googleapis.com/css2?family=Orbitron:wght@400;500;600;700;800&display=swap" rel="stylesheet">
    <link rel="stylesheet" href="style.css">
</head>
<body>
    <a href="#">Marvel Fanclub</a>
    <a href="#">DC Fanclub</a>
    <h1 class="one">Lorem ipsum dolor sit amet.</h1>
    <h2 class="two">Lorem ipsum dolor sit amet.</h2>
    <p class="para-1">Lorem ipsum, dolor sit amet consectetur adipisicing elit. Sunt, in.</p>
    <p class="para-2">Lorem ipsum, dolor sit amet consectetur adipisicing elit. Sunt, in.</p>
    <img width="400px" src="https://images.pexels.com/photos/2519825/pexels-photo-2519825.jpeg?auto=compress&cs=tinysrgb&w=1260&h=750&dpr=1" alt="clicked by histesh choudhary">
    <img width="400px" src="https://images.pexels.com/photos/1114627/pexels-photo-1114627.jpeg?auto=compress&cs=tinysrgb&w=1260&h=750&dpr=1" alt="clicked by histesh choudhary">
    <ul>
        <li>item 1</li>
        <li>item 2</li>
        <li>item 3</li>
        <li>item 4</li>
    </ul>
</body>
</html>
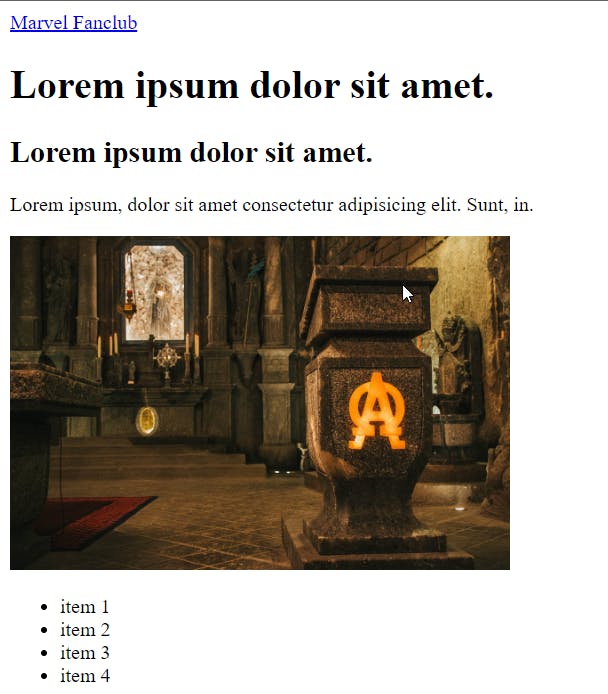
This is how our ugly webpage looks right now.
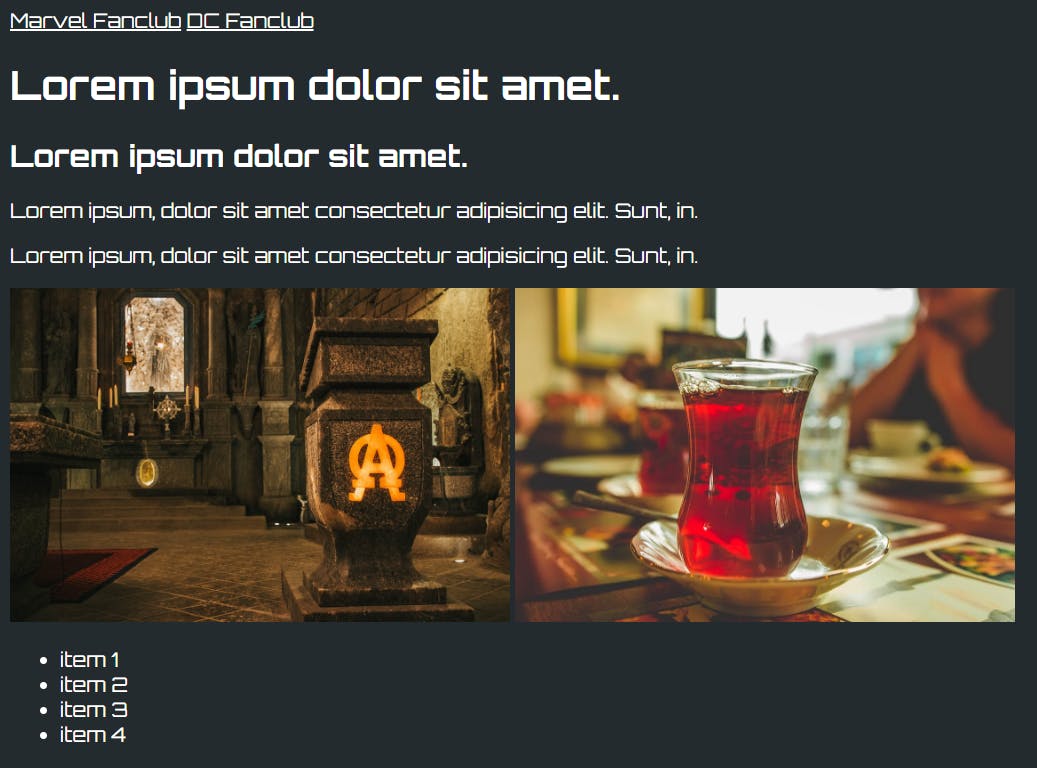
Let's see universal selector in action.
 * {
    background-color: #242B2E;
    color: #FFFFFF;
    font-family: "Orbitron", sans-serif;
}
After applying the above CSS style. As we can see it applied background-color, text-color & font-family to all the defined HTML elements. We don't usually use universal selector like this. It is usually used to reset the default styling applied by the browser like margin, padding, border-box, etc
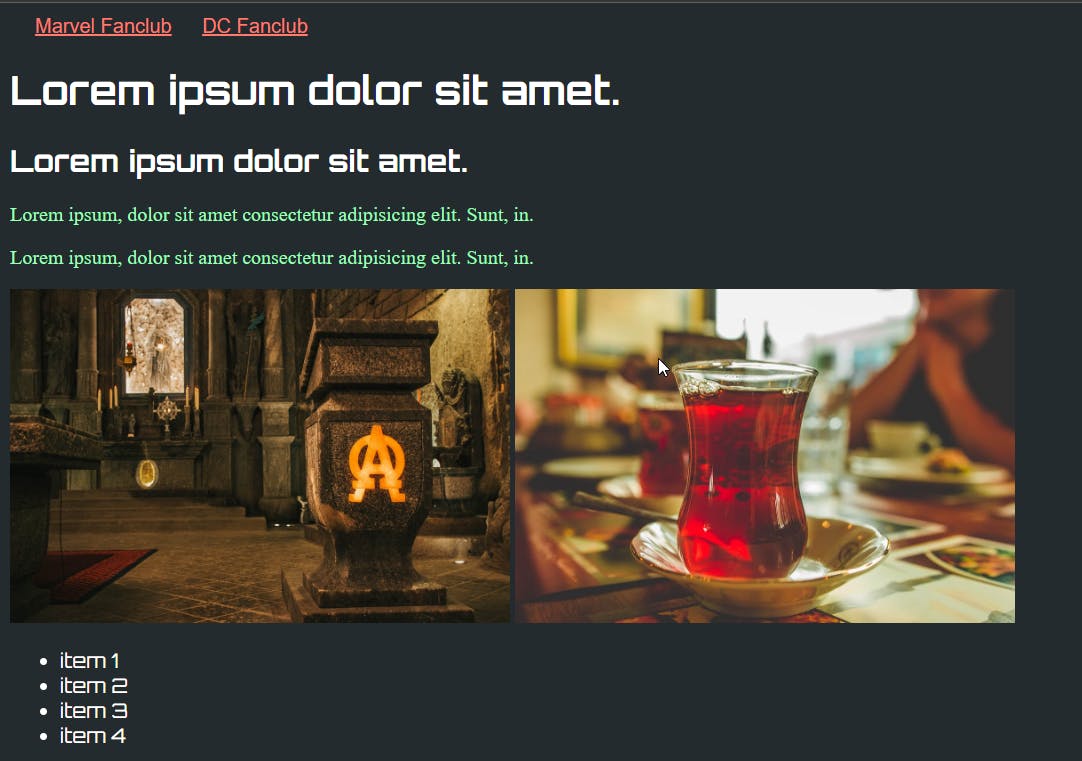
Type Selector
we can use the HTML tag name itself to select all matching elements. In the below code we are selecting all the a tag elements and we are changing the style of that. As we have defined only two a tag in our HTML markup so both will get selected. Similarly, all the p tags will get selected.
a {
 color: #ff7b70;
 text-decoration: underline;
 margin-left: 20px;
 font-family: sans-serif;
}
p {
    color: #9cffb7;
    font-family: serif;
}
Class & ID Selector.
CLASS We use the dot before the class name to select any specific elements.
This will select all the elements whose class name is defined as one.
ID We use this hash # symbol to select an element. So, in the below css example, we are selecting an element whose id is defined as green.
In the case of id selector, we should never define the same id for multiple elements,
we use IDs to identify unique elements on the dom if you really want to select multiple elements then it's better to use other selectors.
.one {
    background-color: #ffb253;
}
#green {
    background-color: #ff51f3;
}
Attribute Selector.
We can select any specific elements by using their attribute if it was defined on that element.
Ex. Suppose we want to select an input field whose type is equal to email
In this particular case we can use an attribute selector like this input[type="email"] this will select all the
input fields whose type is equal to email.
Now we have various attribute selectors like:
- [attr] By using this syntax we can select all elements which have any attribute defined. Ex [list] this will select all elements which have list as an attribute. In the below css code all elements which have list attribute will get a colour of crimson.
[list] {
  color: crimson;
}
[name=marvel] This will select elements that have name as an attribute and marvel as a value. In the below css code all elements that have name attribute and marvel value will get a font size of 2rem.
[name="marvel"] {
  font-size: 2rem;
}
[active~="yes"] By using the tilde ~ symbol before equal to sign, we can select elements that have active as an attribute and multiple values separated by space, and in these space-separated values yes is present.
<!-- as we can see here active attribute has multiple values -->
<li name="marvel" active="ironman yes thor">item 3</li>
/* above li element will get selected only because 'yes' is present on above li element */ [active~="yes"] { color: #ff7b70; }[active^=iron] Here, by using the caret ^ symbol we can select elements that have an attribute active, and their value starts with iron.
<li name="marvel" active="ironmanyesthor">item 3</li>/* this will select the above li element because active attribute value start's with iron */ [active^="iron"] { color: green; }[active$="thor"] Similarly to the above example this will select elements whose attribute's value ends with its value in this case it is thor.
<li name="marvel" active="ironmanyesthor">item 3</li>/* the above li element will get selected because active attribute's value end's with thor */ [active$="thor"] { color: #9cffb7; }[active*=sthor] By using the asterisk * symbol we can select elements whose attribute's value contains in the selector.
<!-- here the substring sthor is valid --> <li name="marvel" active="ironmanye'sthor'">item 3</li>[active*="sthor"] { color: red; }
Selector list.
We can select multiple HTML elements by using commas, between elements this way we can target multiple elements.
<span>HI There</span>
    <ul>
        <li list>item 1</li>
        <li list>item 2</li>

        <li name="marvel" active="ironmanyesthor">item 3</li>
        <li name="marvel">item 4</li>
    </ul>
/* this will target all the li tag, ul tag, span tag */
li, ul, span {
    background-color: #fff;
}
Descendant Selector.
We can use this selector to select elements that are inside of other elements (child elements)
<div class="lists">
        <ul>
            <li list class="list-item">item 1</li>
            <li list class="list-item">item 2</li>

            <li class="list-item" name="marvel" active="ironmanyesthor">item 3</li>
            <li class="list-item" name="marvel">item 4</li>
        </ul>
    </div>
/* this will select all list-item that are
inside of ul and ul is inside of lists */
  .lists ul .list-item {
    background-color: crimson;
    color: #FFFFFF;
}
Child Selector.
By using this child selector > we can select elements that are direct children of the parent element. for example li tags which are usually inside of ul tag (here li tags are direct children of ul tag)
        <ul>
            <li list class="list-item">item 1</li>
            <li list class="list-item">item 2</li>

            <li class="list-item" name="marvel" active="ironmanyesthor">item 3</li>
            <li class="list-item" name="marvel">item 4</li>
        </ul>
ul > li {
  background-color: orange;
}
General Sibling Selector. (~)
This will select elements that are siblings of the currently selected element excluding itself.
<ul>
    <p>I'm p tag one</p>
    <p>I'm p tag two</p>
    <li list class="list-item">item 1</li>
    <li list class="list-item">item 2</li>
    <li class="list-item" name="marvel" active="ironmanyesthor">item 3</li>
    <li class="list-item" name="marvel">item 4</li>
  </ul>
/*this will select all the li elements*/
p ~ li {
    background-color: skyblue;
}
/* this will also select all the li elements but not the first one */
li ~ li {
    background-color: skyblue;
}
Adjacent Sibling Selector. (+)
Just like the previous one, this will also select the sibling elements but only the first one.
<ul>
    <p>I'm p tag one</p>
    <p>I'm p tag two</p>
    <li list class="list-item">item 1</li>
    <li list class="list-item">item 2</li>
    <li class="list-item" name="marvel" active="ironmanyesthor">item 3</li>
    <li class="list-item" name="marvel">item 4</li>
  </ul>
/*this will select only the first occuring li elements*/
p + li {
    background-color: skyblue;
}
/* this will select all the li elements but excluding the first one */
li + li {
    background-color: skyblue;
}
Pseudo class.
They tell us the state of the selected elements. Like when the button has hovered, input element gets focused, when a link gets visited, when a checkbox is checked, to know more about pseudo classes click here MDN
  input:focus {
    background-color: skyblue;
  }
Pseudo elements
These are used after the selector with two :: colons (input::plcaeholder) to style the specific part of selected elements. there are ::placeholder, ::before, ::after, ::first-line, ::backdrop.
Here is a simple example to use pseudo elements and pseudo class
<!DOCTYPE html>
<html lang="en">
<head>
    <meta charset="UTF-8">
    <meta http-equiv="X-UA-Compatible" content="IE=edge">
    <meta name="viewport" content="width=device-width, initial-scale=1.0">
    <title>CSS Selectors</title>
    <link rel="preconnect" href="https://fonts.googleapis.com">
<link rel="preconnect" href="https://fonts.gstatic.com" crossorigin>
<link href="https://fonts.googleapis.com/css2?family=Orbitron:wght@400;500;600;700;800&display=swap" rel="stylesheet">
    <link rel="stylesheet" href="style.css">
</head>
<body>
    <div class="container">
        <ul>
            <li>Home</li>
            <li>Services</li>
            <li>About</li>
            <li>Contact</li>
        </ul>

    </div>
</body>
</html>
* {
    background-color: #242B2E;
    color: #FFFFFF;
    font-family: "Orbitron", sans-serif;
}
.container {
    display: flex;
    justify-content: center;
    align-items: center;
    height: 100vh;
}

/*-------------------------------------------*/

ul {
    list-style-type: none;
    display: flex;
    gap: 40px;
}

ul li:first-child {
    font-weight: bold;
    font-size: 1.1rem;
}
ul li {
    cursor: pointer;
}

/* content is very important when using pseudo elements
here we are setting the width to 0% so that we apply transition
property.
 */
ul li::after {
    content: "";
    width: 0%;
    height: 1px;
    display: block;
    background-color: #FFFFFF;
    margin: 0 auto;
    margin-top: 5px;
    transition: width .2s;
}

/*Here we are setting width to 80% when mouse hovers on elements*/
ul li:hover::after {
    content: "";
    width: 80%;
    height: 2px;
    border-radius: 50px;
    display: block;
    background-color: #FFFFFF;
    margin: 0 auto;
    margin-top: 5px;
}
Output: